Showing posts with label green. Show all posts

Sunday, 1 July 2012

Bottle plants

So I looked at my innocent (innocente according to my dad LOL) and I thought "I could do something with you but what?" Then I remembered my need for something to love and nurture and I thought about plants in my room.

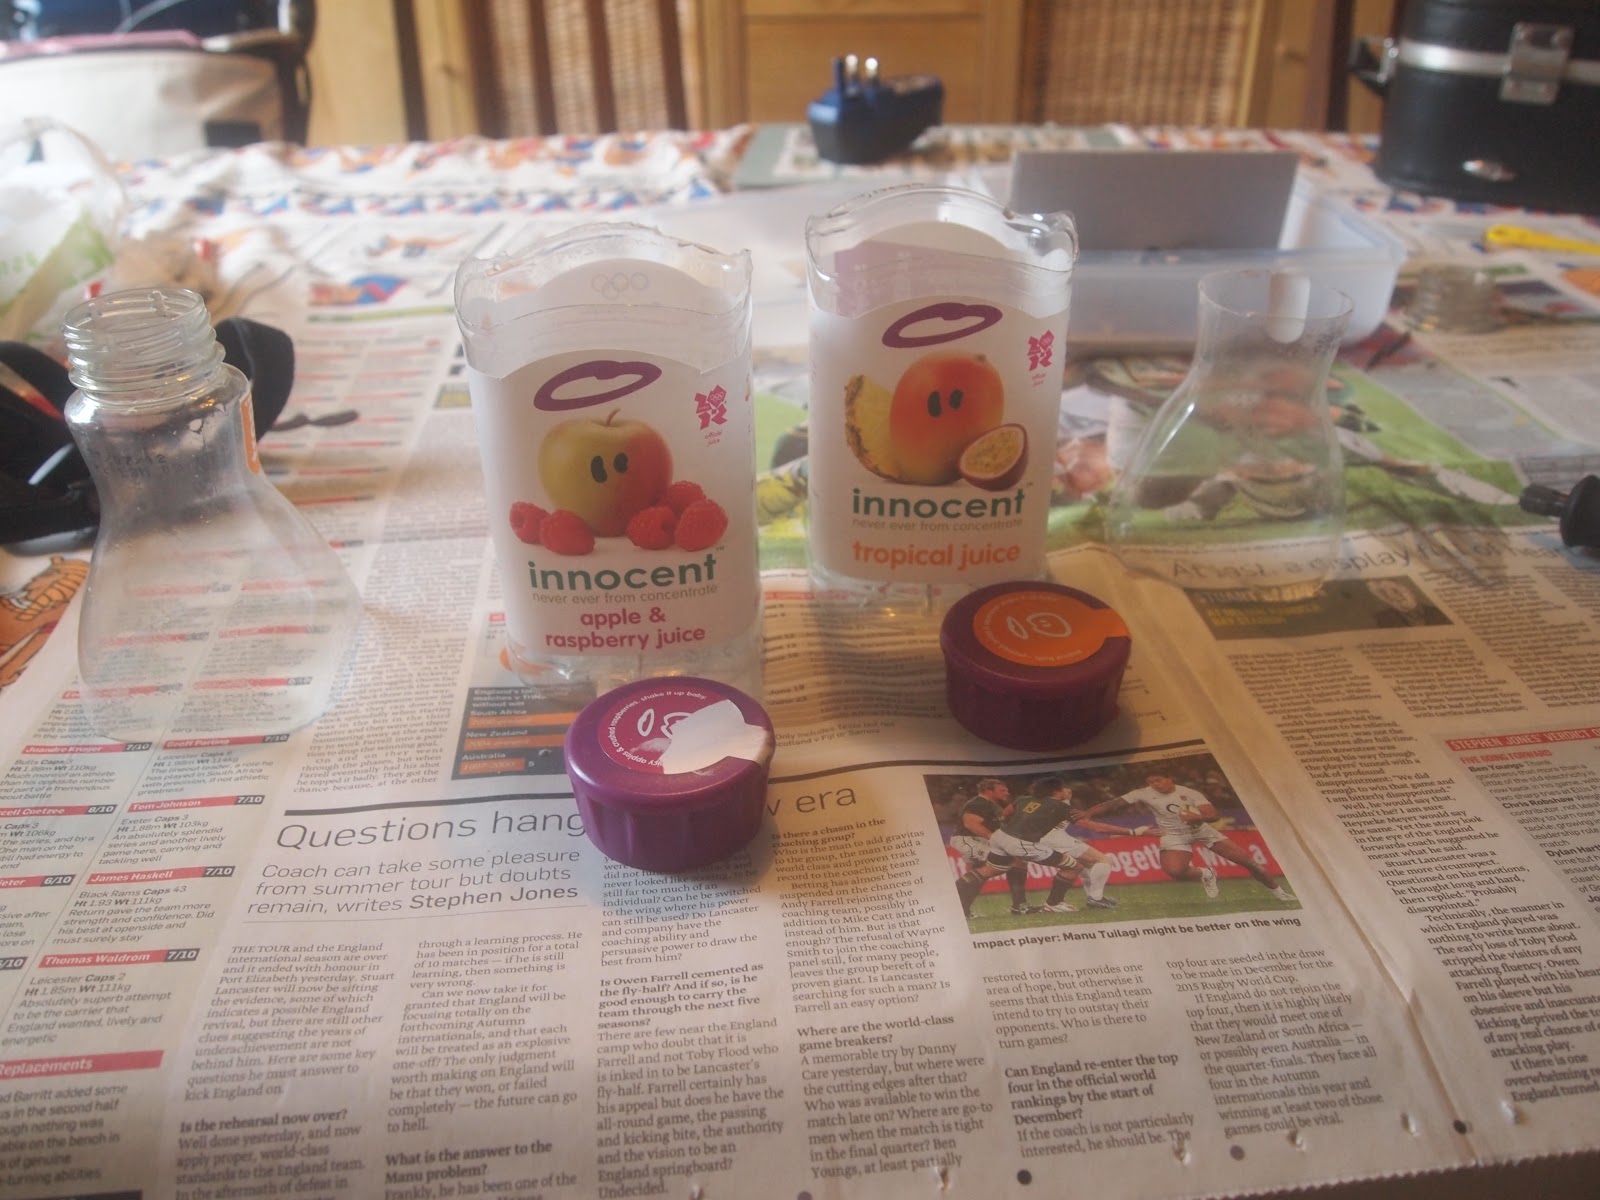
 Cut off the top of the bottles around the line that is on there (its kinda wibbly wobbly) I used a craft knife but a pen knife may have been better.
 Get your plants.
 make sure their not dead I used alpines much to my mothers disgust.
 Fill your bottles with a third of pebbles or gravel, then a third of compost and then top it off with your plant making sure to break up the bottom slightly with your fingers and flatten it down a little with your fingers. If they are a little dry add water but don't drown em.
 I used an elastic band to put the names back on cos I'm lazy and I'm not going to remember the names LOL or how to look after them.
Finished!! :)

Monday, 23 April 2012

Pictures of Jewellery

Here are some pictures of my work so you can have a look at the progress and the gathering of stock so that I can do more fairs around the stoke area. I am doing the one at Fat Cats Stoke on the 4th of July hope to see you there! 

 The above ones are button rings that are made vintage and second hand buttons.
 These rings are made out of Lego pieces I will make some more so that the box will be full of rings.
 Here is the first box that is full of button rings that I have completed in their display box
 Here is the same box from another angle and closer
 Here is a sample of the puzzle rings there are more to come but I need to buy more boxes which I have found on Ebay for those who are interested


Saturday, 28 January 2012

WANTED

I really want any old laptops, computer keyboards, and scabble sets that anyone has got?? Email me if you have one! :) x

Tuesday, 29 November 2011

Ch- ch -ch-check it out!


Here is the hat that I finished a couple of days ago its a really simple stitch and I think pretty effective, inspired by 1970's fair isle yokes x


Pattern:
CO in the round in an even number of stitches enough to fit your head
P1, K4 all the way round
repeat until desired length
*Stay in the P1, K4 pattern count* 10 stitches then Co2  repeat until end
P1,K4 to end
 Repeat from * to * and every other row count one less stitch until you Have about 10 left and then draw all your stitches together
Any clarification just ask I know those instructions are rubbish x